


Savv makes it easy for everyone to share and read stories, with a focus on a simple yet elegant experience
The Article Editor
The built in editor is simple, fast, and easy-to-use, allowing you to focus on telling your story, while it handles the rest.

0%
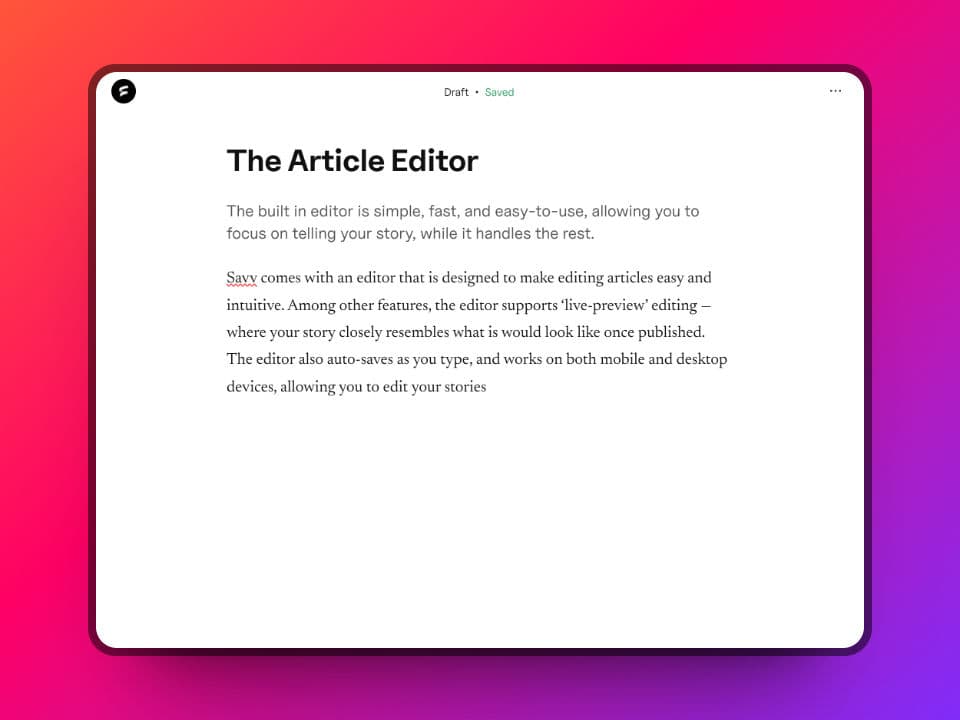
Savv comes with an editor that is designed to make editing articles easy and intuitive. Among other features, the editor supports ‘live-preview’ editing — where your story closely resembles what is would look like once published. The editor also auto-saves as you type, and works on both mobile and desktop devices, allowing you to edit your stories where and when its most convenient.
In this article, we will take a deep dive into how to use the editor. You can follow along by by writing your own draft here, or you can try out the demo editor here.
The interface
The editor interface is clean and minimal, allowing you to focus on writing your story with little distractions. Still, the editor packs powerful features which come to life when you need them.
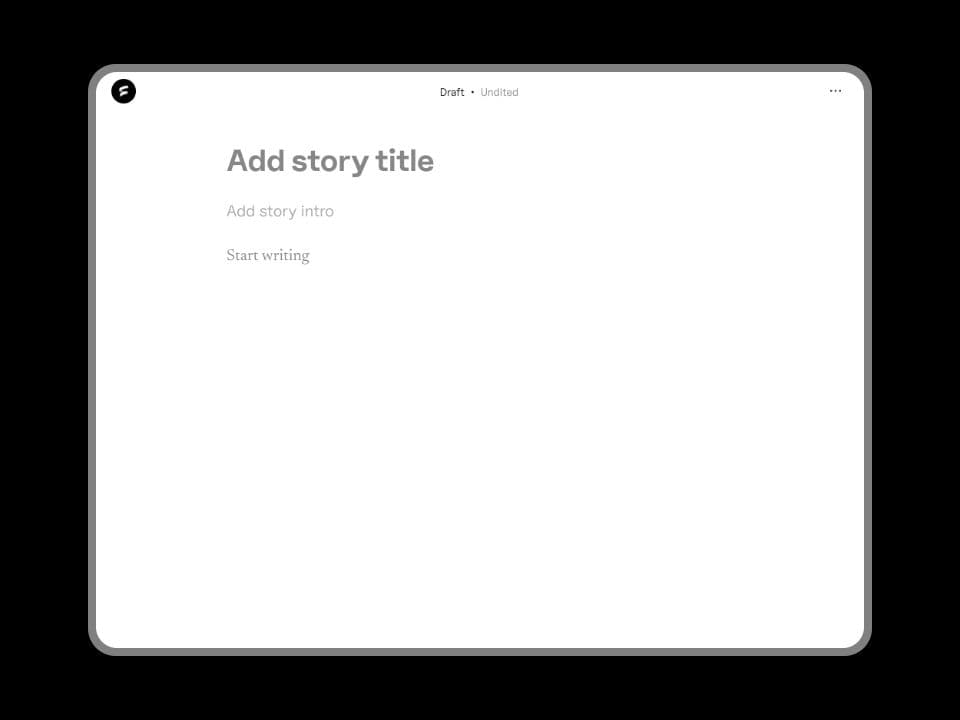
Blank editor
An article will have a title, an optional intro then the body. On the editor, you have spaces to add the title, the intro and then you can start writing. Lets add a title and an intro to our story:
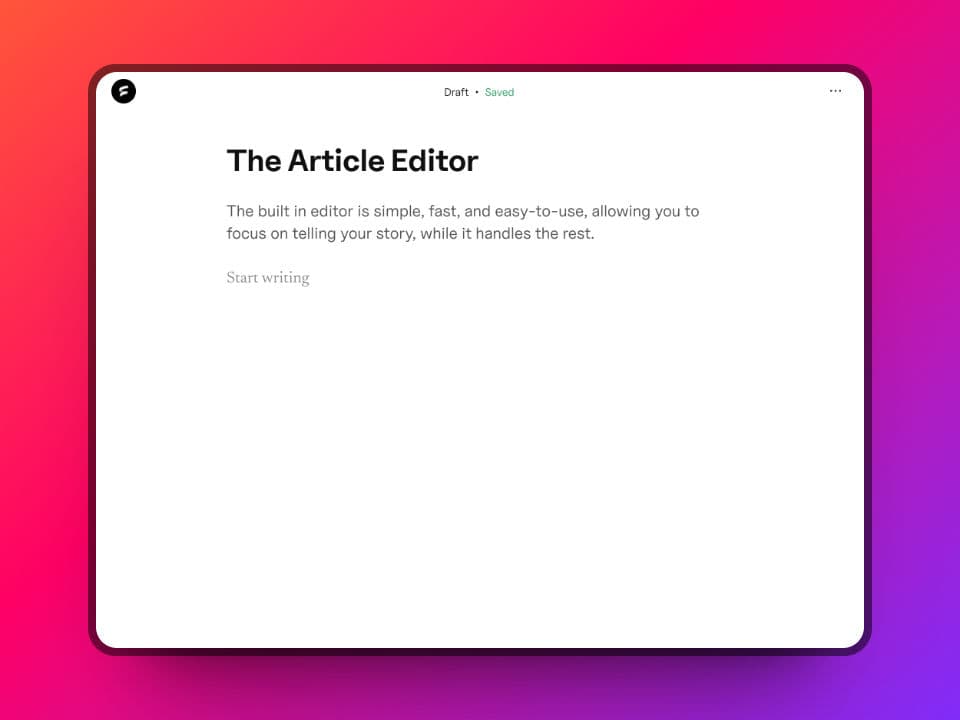
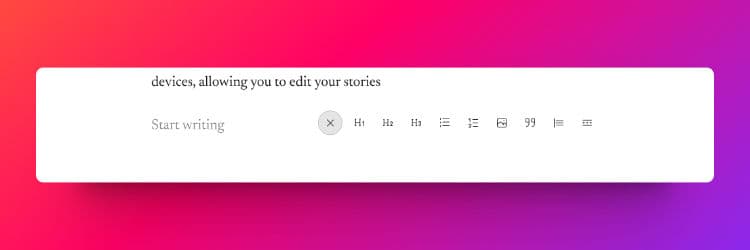
Now, we can start writing our story. Place your cursor on the line written ‘Start writing’ to begin.
As you type, the editor will automatically save your work. At the top-center part of the page, there will be a status indicator that shows the status of the document.
Adding blocks
An article will usually consist of more than just paragraphs. In the editor, you can add headings, lists, images, pull quotes, blockquotes and section dividers to your article. We call these blocks, as each appears on its own ‘line’, and not within a paragraph.
When you move to a new blank line, you will see a ‘plus icon’ at the right end of the line.
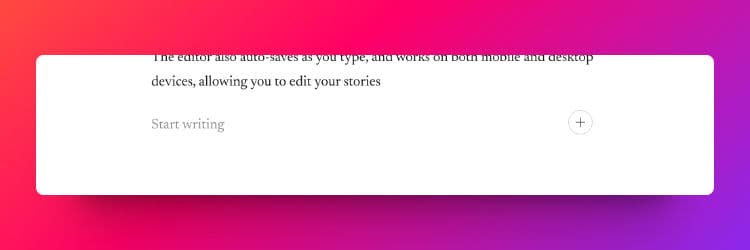
Blocks button on the right side of a blank line
This is the blocks toolbar button. Clicking on this icon reveals a toolbar where you can select on the block to use for this line.
The available blocks are:
Headings
There are three levels of headings, labelled from H1 to H3, with H1 as the largest heading and H3 as the smallest. Here are the examples of headings:
H1 - Heading one (largest)
H2 - Heading two (medium)
H3 - Heading three (smallest)
You can use headings to mark the start of different sections of an article, like we are marking the different blocks here.
Lists
You can add lists when you want to put in things that are related to each other in some way. You can either use unordered lists, where the items are marked with bullets, or numbered lists where the items are numbered.
An example of an unordered list:
An item in an unordered list
Another item in an unordered list
A third item in an unordered list
And here is an example of an ordered list
This is the first item
This is the second item
And this is the third item
Images
You can also add in images to your articles. Once you click on the image block, an image input control will be added to the article:
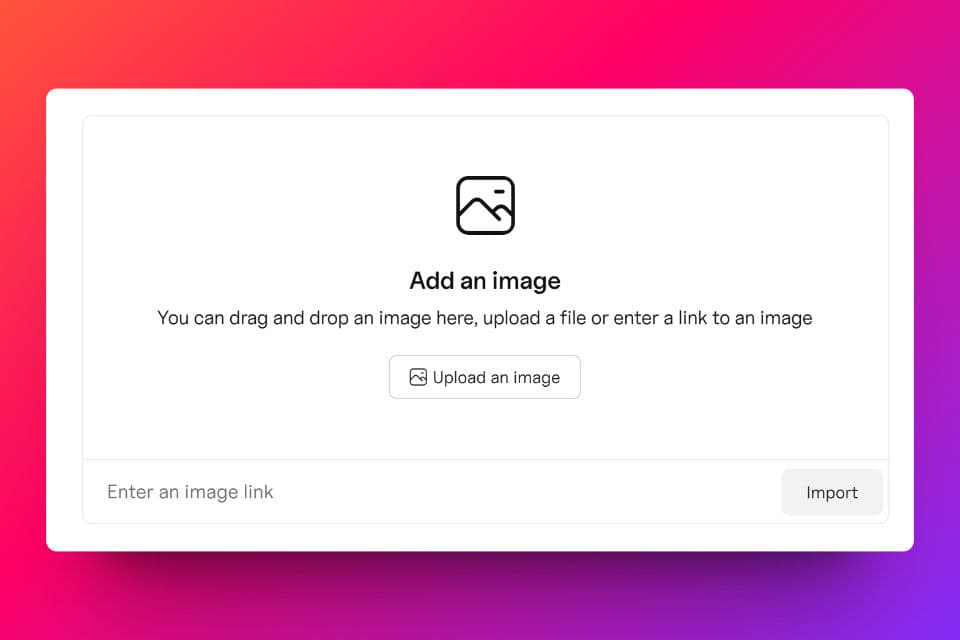
You can drag and drop an image here, or upload an image from your device. Alternatively, you can also enter a link to an image to include it directly. Here is a sample image from Unsplash.

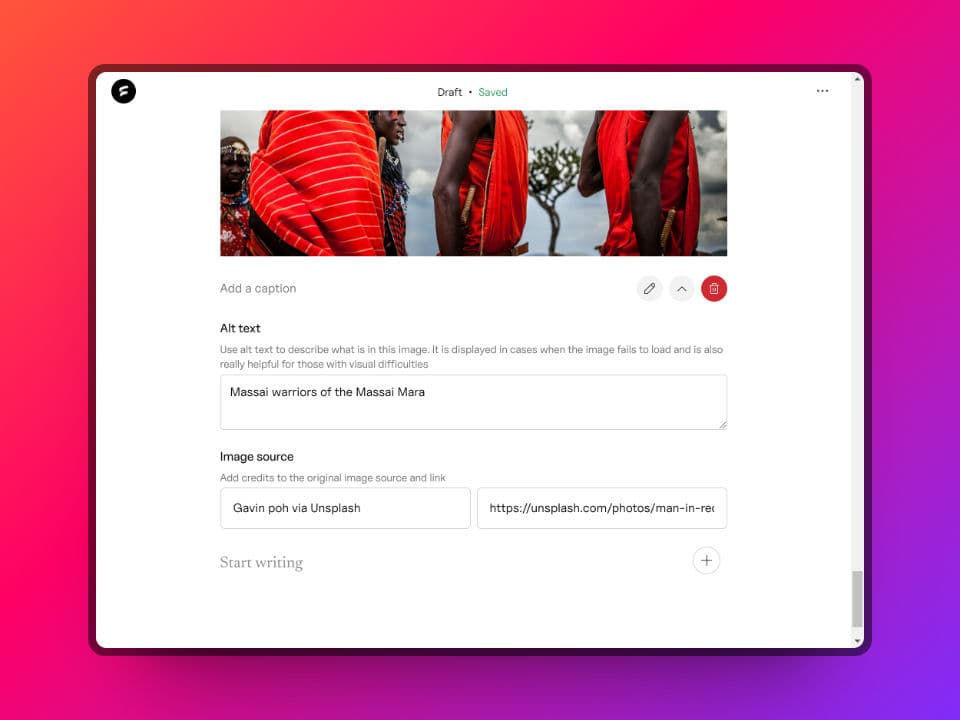
This is the image caption / Gavin poh via Unsplash
When adding an image, you can also include a caption - which is shown under the image, and ‘Alt text’ which is used as a description of the image. This is shown when the image fails to load, and is also helpful for those with visual difficulties. You can also add both an image’s source and a link to the source too.
Pull quotes
You can also add pull quotes to your article, which you can use to bring emphasis to a section of the article. Here is an example:
You can also add pull quotes to your article, which you can use to bring emphasis to a section of the article.
Block quotes
You can also add blockquotes, which are you can use to indicate that some part of the article has been derived from a different source. Here is an example from the Wikipedia page about block quotes:
A block quotation (also known as a long quotation or extract) is a quotation in a written document that is set off from the main text as a paragraph, or block of text, and typically distinguished visually using indentation and a different typeface or smaller size font. This is in contrast to setting it off with quotation marks in a run-in quote. Block quotations are used for long quotations. The Chicago Manual of Style recommends using a block quotation when extracted text is 100 words or more, or approximately six to eight lines in a typical manuscript.[1]
Section dividers
You can use section dividers to indicate that the article is moving to an entirely different part of the story. Here, for example, we are going to use a section divider as to indicate that we have finished with the available blocks, and are moving to a different part of this article
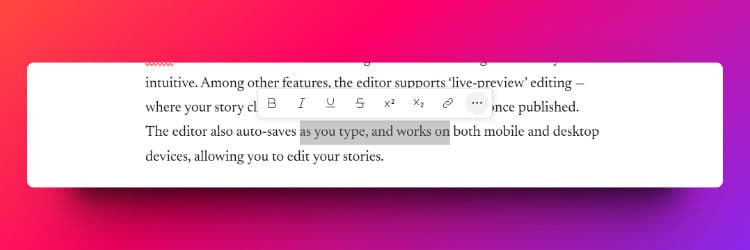
Inline formatting
Besides blocks, an article will usually also have some inline styles, like bold, italicized or underlined text. You can do this with the editor by highlighting the section you wish to apply the formatting to.
The available formatting options are:
Bold - to make text bold, example: bold text
Italic - to italicize text, example: italicized text
Underlined - add an underlined to text, example: underlined text
Strikethrough - add a strike mark, example: text with strikethrough
Superscript and subscript - examples: 1st (superscript) and 2n(subscript)
Links - add a link. Once you click the link button, an floating input box will appear around the link text, allowing you to enter the link. Here is an example link to our home page.
Additionally, the floating toolbar also includes an extra icon (three dots), which you can use to change the current block of the highlighted section.
Keyboard shortcuts
The editor also comes with some keyboard shortcuts for quick access to some functions.
Ctrl/Cmd + Z - undo command, lets you go back to a previous state of the editor
Ctrl/Cmd + Y - redo command, lets you go forward, adding back changes that had been undone
Ctrl/Cmd + B - format selected text to bold
Ctrl/Cmd + I - italicize selected text
Ctrl/Cmd + U - underlined selected text
More keyboard shortcuts will be added soon, so stay tuned!
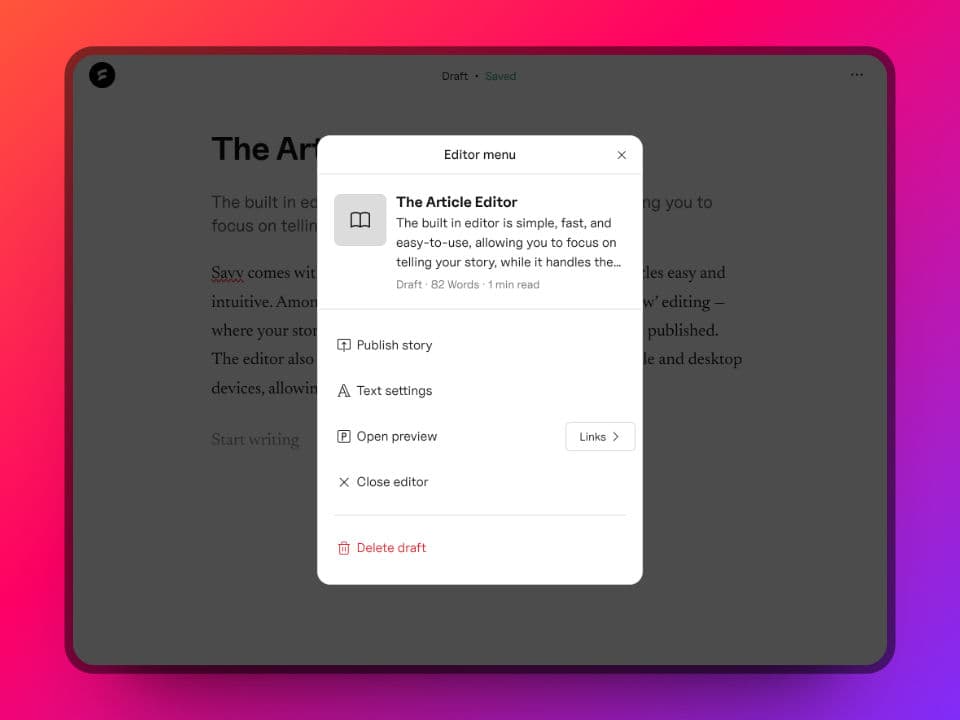
The editor menu
The editor had a menu where you can access some extra functions, like publishing the article, changing text settings and opening previews. You can access the menu by clicking on the three dots icon at the top right of the editor header:
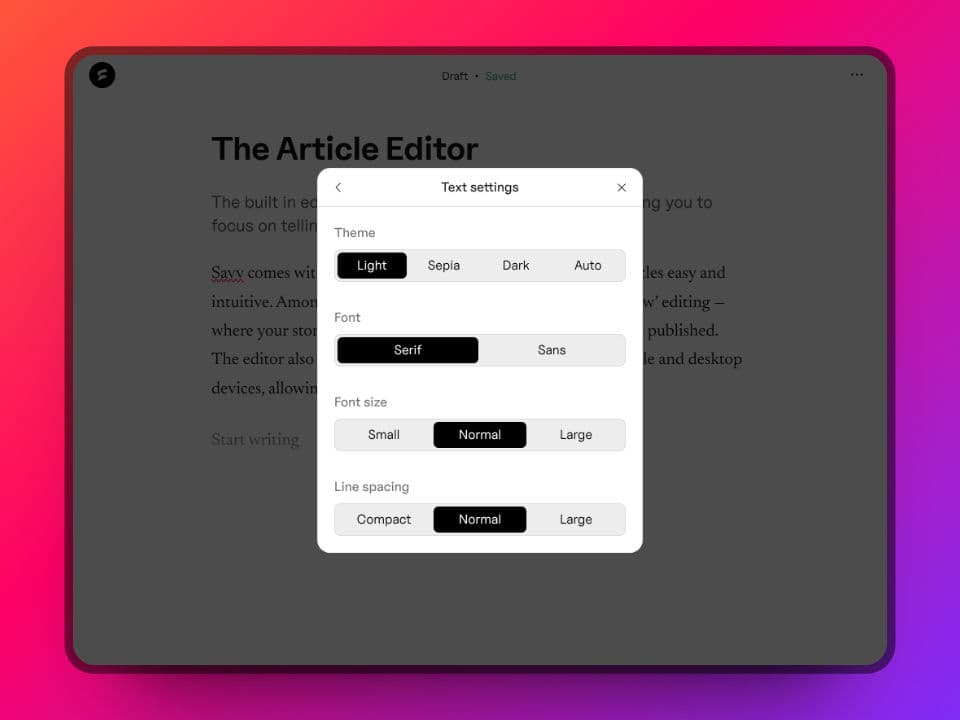
Text settings
Text settings allow you adjust the color theme, font style, font size and line spacing, so you can get a more comfortable editing experience.
Previews
With preview, you can open your draft in the reader screen, so you can get a feel of how the story will be like once published. The default preview link is only available to you. To share your draft with others, you can create preview links, which will allow anyone with the link to view the draft in reader mode.
Additionally, you can set an expiry time for preview links. Once the time reaches, the link ceases to be active.
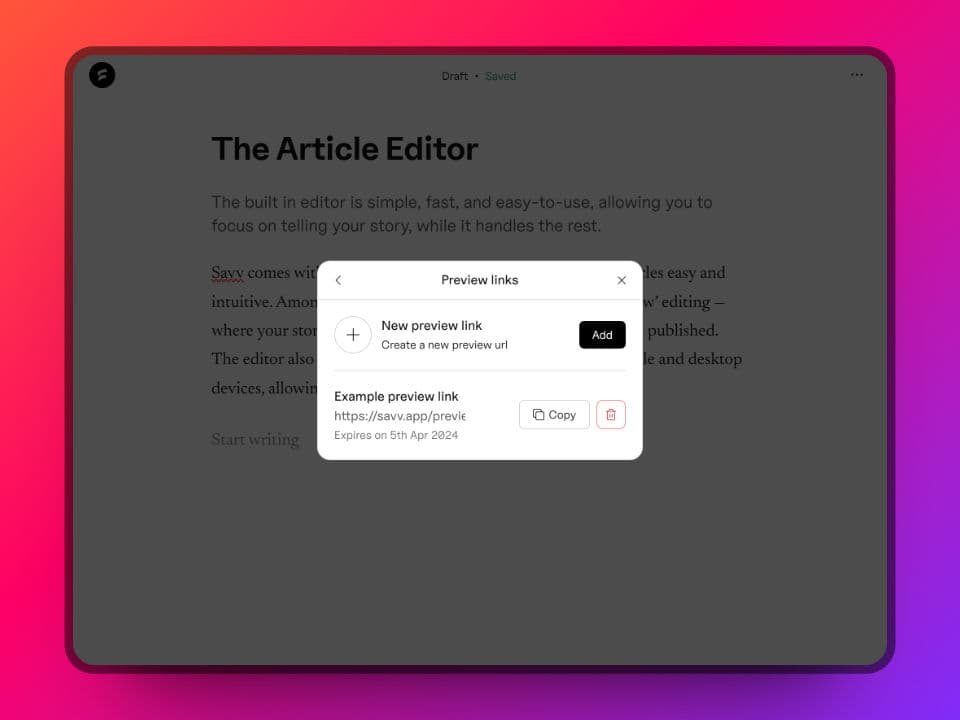
Preview links
Publish
Once you are done with the draft, you can click on publish to send out your story.
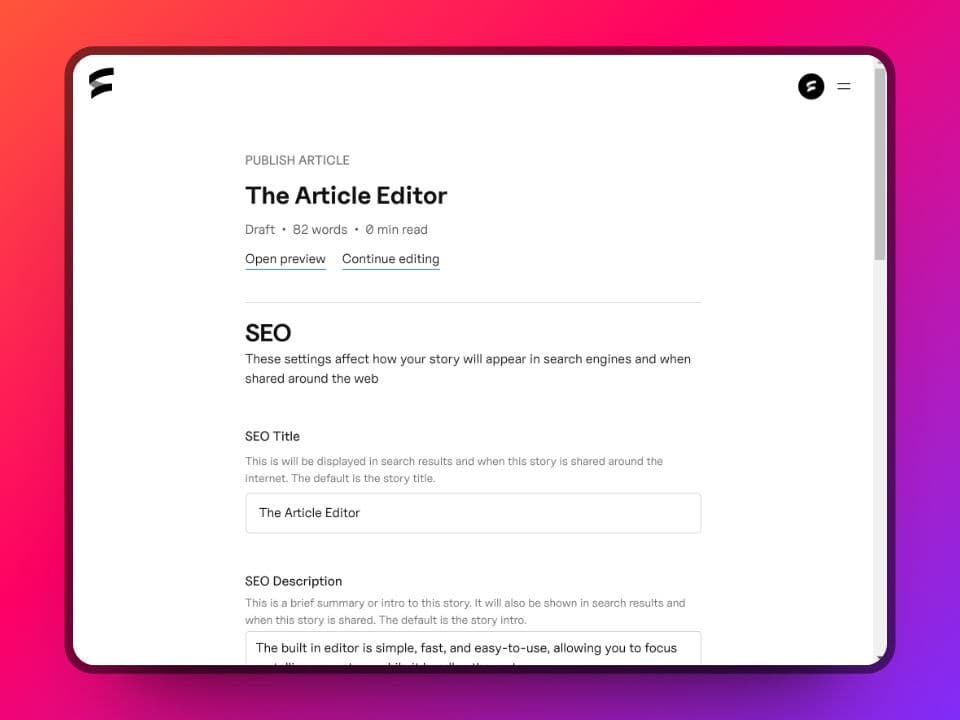
Publish screen
On the publish screen, you can adjust the SEO settings and also add topics to the article. You can also select a series to publish the article into. Once done, click on publish, and your story will now be ready for your readers. We will add a follow up article detailing how to publish your stories.
That’s about it. The editor is clean, simple-to-use and also powerful. If you have suggestions or other features you would like to see added, reach out to us.
Thank you for your time.
0%
0 reactions
The latest stories

Recent protests in Kenya point to a change in the nature of youth involvement in African governance. The rise of social media and civic engagement have enabled a demographic previously perceived as apathetic to get involved in socio-economic development policies.
Jul 12 • 7 min

A tribute to her grandmother's basket-weaving legacy is how Gloria Kisulu sees The Shaba, a digital supply chain changing rural artisans' lives by seamlessly blending social impact, design, and tech.
Mar 5 • 8 min

Kenya’s deployment of a 10,000-strong force to Haiti would contribute toward the country’s role in enhancing global peace and security.
Jun 5 • 5 min